
Purpose of the article: The purpose of this blog is to guide users on automating the process of ingesting CSV files from Amazon S3 into PostgreSQL using Apache Airflow.
Tools and Technology: Apache Airflow, AWS EC2, Ubuntu, Python,Amazon S3,PostgreSQL.
Keywords: Apache Airflow, DAG, ETL, Amazon S3, PostgreSQL, AWS, EC2, Data Pipeline, Automation, Batch Processing, Pandas, psycopg2, Cloud Storage.
Overview
In the initial process an Apache airflow DAG extracts a CSV file from Amazon S3. After that it creates a PostgreSQL table based on the CSV structure and then loads the data into PostgreSQL.
Objectives
• To automate the extraction of CSV files from Amazon S3
• To have an automatic flow which create a PostgreSQL table based on the CSV file structure
• To load the extracted data effectively into PostgreSQL
• To design a maintainable & scalable data pipeline for seamless operations
Conditions
• Amazon S3 bucket should be having CSV files in it
• PostgreSQL database instance
• Apache Airflow should be installed and configured
• To generate AWS and PostgreSQL connection credentials
• Before running this airflow DAG, install the dependencies using below commands –
* Pip install Apache-airflow
* Pip install Apache-airflow – providers- amazon
* Pip install Apache-airflow – providers- postgres
* Pip install pandas psycopg2- double
Tools and Technologies
- Apache Airflow: For workflow automation and unity
- Amazon S3: Cloud based storage for storing CSV files
- PostgreSQL: An important open-source relational database.
- Database management system: designed for efficiently storing and managing structured data
- Pandas: Data processing and transformations
- psycopg2: Python library used to connect and interact with PostgreSQL database
Setup 1 Creating S3 bucket and RDS PostgreSQL
Creating an Amazon S3 Bucket
1. Log in to the AWS account and navigate to S3 service.
2. Click on Create bucket.
3. Give a unique Bucket name (e.g., stgqwerty).
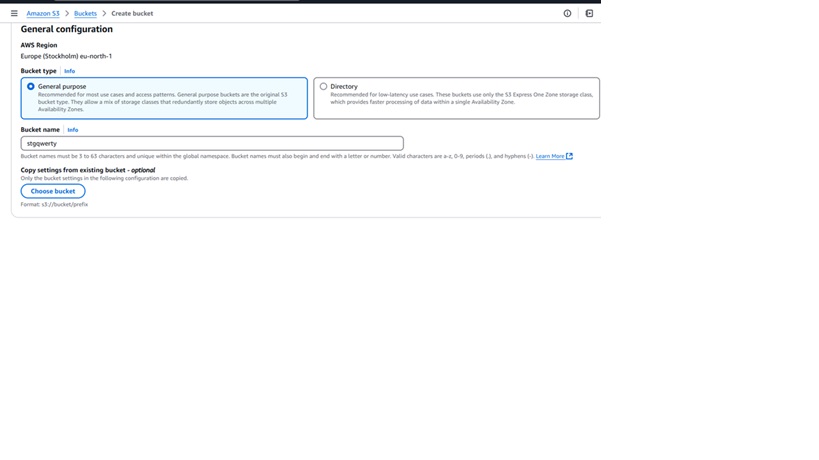
4. Configure the permissions and enable versioning if necessary.
5. Click on ‘Create bucket’.
6. You can upload the file to the S3 bucket, and you can also upload the file from the local.
Setup 2 Setting up Amazon RDS PostgreSQL
1. Navigate to RDS in the AWS console.
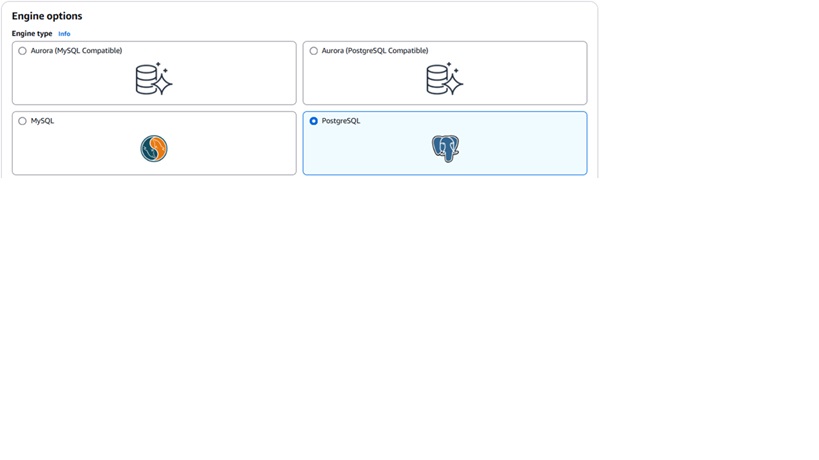
2. Click on create database and choose Standard produce.
3. Select PostgreSQL as the database machine.
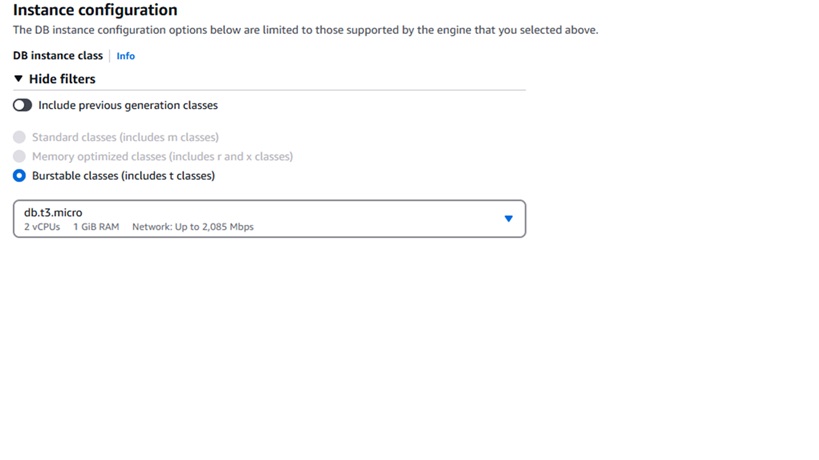
4. Choose a DB instance size (db.t3.micro for the free tire).
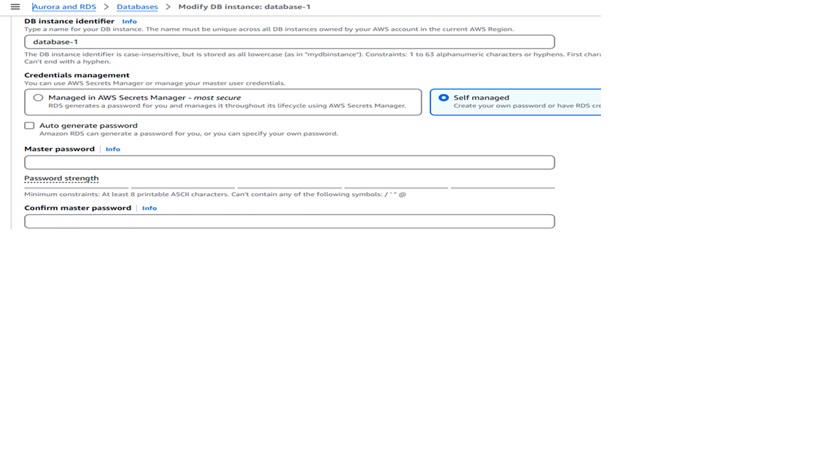
5. Configure database settings
- DB Instance Identifier airflow- Postgres.
- Master Username Choose a username.
- Master word Set a secure word.
6. Enable public access if necessary.
7. Set VPC security groups to allow Airflow to connect.
8. Now Click Create Database and wait for it to be available.
9. Note the endpoint and port for after use in Airflow.
Airflow Credentials for AWS and PostgreSQL

To allow Airflow to connect to Amazon S3 and PostgreSQL, we need to set up credentials.
File Structure:
1. Configuring AWS Credentials in Airflow
Option 1: Using Airflow UI(Recommended)
1. Open Airflow UI(http// 8080).

2. Go to Admin → Connections.
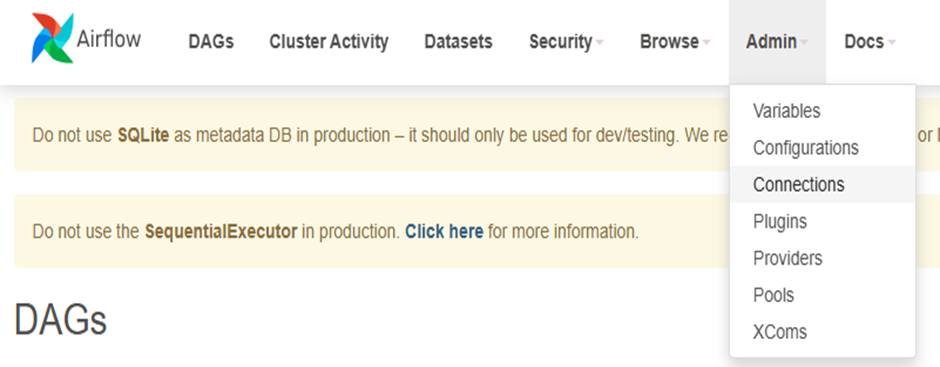
3. Click to add a new record in the connections.
4. Enter connection details
• Conn Id aws_default
• Conn Type Amazon Web Services
• Login AWS Access Key
• Password AWS Secret Key
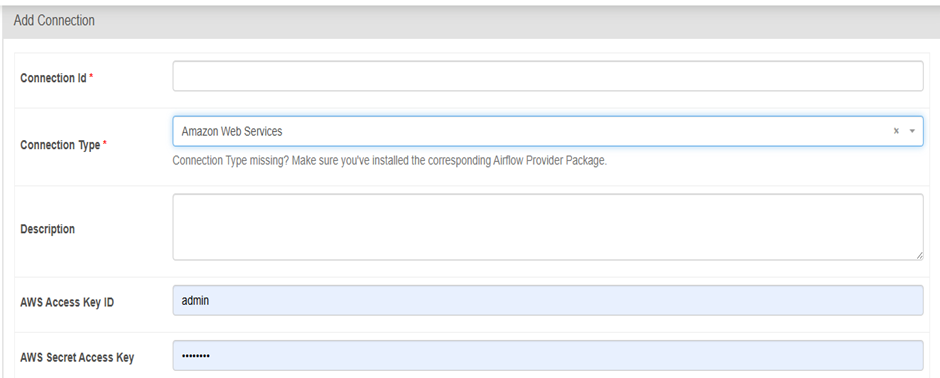
5. Click on Save.
2. Configuring PostgreSQL Connection in Airflow
Using Airflow UI
1. Open the Airflow UI (http// 8080).
2. Navigate to the Admin → Connections.
3. Click on add a new record.
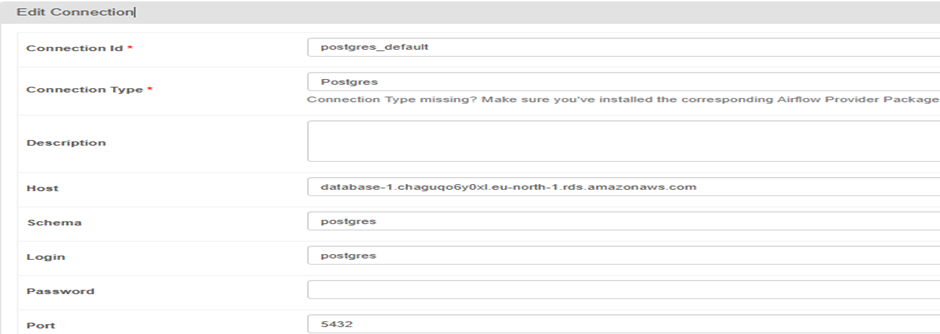
4. Here you have to enter connection details
Conn Id: Postgres_default
• Conn Type: Postgres
• Host: your rds endpoint
• Schema: your database name
• Login: your postgres user
• Password: your postgres password
• Port: 5432

Set up an Airflow DAG, connect to an EC2 case, and emplace the DAG.
Step 1: Install and configure Airflow.
- Initialize Airflow Airflowdb init
Step 2: Launch Airflow Scheduler and Webserver
- Airflow scheduler &
- Airflow webserver- p 8080
Step 3: Access the Airflow UI
- Open the browser and visit http// localhost8080.
- Log in and configure AWS and PostgreSQL connections under Admin → Connections.
Step 4: Create and Add the DAGs folder
- Navigate to the Airflow home directory.
- cd Airflow
Step 5: Check if the dags folder already exists, if not, create it.
- mkdir- p~/airflow/dags
Setup Upload the DAG to EC2
1. Navigate to the DAGs folder
- cd~/Airflow /dags
2. Create and Upload the DAG
You can manually create the Python DAG file:
nano s3_to_postgres_dag. Py
Paste the DAG code and save(CTRL X, also Y, also ENTER).
Explanation
- Importing Airflow hooks & operators for S3 and PostgreSQL.
- Defines DAG metadata, including S3 Bucket, file name, and connection IDs.
- Automatically creates a PostgreSQL table based on CSV structure.
- Loads data from S3 into PostgreSQL using optimized batch inserts.
- Defines a DAG that runs daily, executing table creation before data loading.
6. DAG prosecution and Success
Once the DAG is triggered, you can monitor its execution through the Airflow UI. A screenshot shows the successful execution of Dag can be captured to confirm its completion.
Advantages
- Automation: Completely automated ETL with Airflow.
- Scalability: It handles larger datasets easily.
- Dynamic Tables Auto- generates schema from CSV.
- Reusability: Versatile for various datasets.
Disadvantages
- Schema Changes: These may require manual fixes.
- Limited transformations: Basic processing is handled in Airflow.
- Service reliance: Requires S3 & PostgreSQL.
Conclusion
An automated Airflow DAG that extracts CSVs from S3, creates PostgreSQL tables, and efficiently loads the data.
References:
- Amazon S3 Documentation – https://docs.aws.amazon.com/s3/index.html
- PostgreSQL Official Documentation – https://www.postgresql.org/docs/
- Apache Airflow Documentation – https://airflow.apache.org/docs/
- Boto3 (AWS SDK for Python) Documentation – https://boto3.amazonaws.com/v1/documentation/api/latest/index.html
- Pandas Documentation – https://pandas.pydata.org/docs/
Author Bio:

Sai Teja Goud RUDRAGONI
Software Engineer - Technical Consultant
I'm Sai Teja Goud RUDRAGONI, and I've been with MOURI Tech for 2 years and 5 months as a technical consultant in data engineering. I have a good history with Amazon Services. Expertise uploading and downloading files from local directory to Cloud storage and expertise in Python coding language.